Are you considering offering free WiFi to customers? Heard that it requires a captive portal and want to learn more about it?
You know, it’s hard to imagine that only a couple of years ago, we had to pay for internet access at hotels, restaurants, or coffee shops. And places like cinemas or shops wouldn’t even offer any ability for customers to go online.
Today, free WiFi access is the norm. It’s also a great marketing tool for increasing retention, repeat purchases, and collecting reviews.
But it’s also super confusing unless you’re in IT, of course. And one of the challenging aspects is the captive portal.
In this guide, I will explain a captive portal and its role in your WiFi marketing strategy.
And let’s start at the very beginning…
What is a Captive Portal?
Think of the last time you connected to a WiFi at a restaurant or a coffee shop.
You, most likely, didn’t just select the network from a list of available ones. You had to go through at least some steps to access the web.
- Most likely, you had to provide your email address or log in through your social media account to get in.
- Perhaps you needed to accept some T&Cs and privacy policies.
- And you may also have seen some information and promotions from the company.

A lot of these interactions happened through a captive portal.
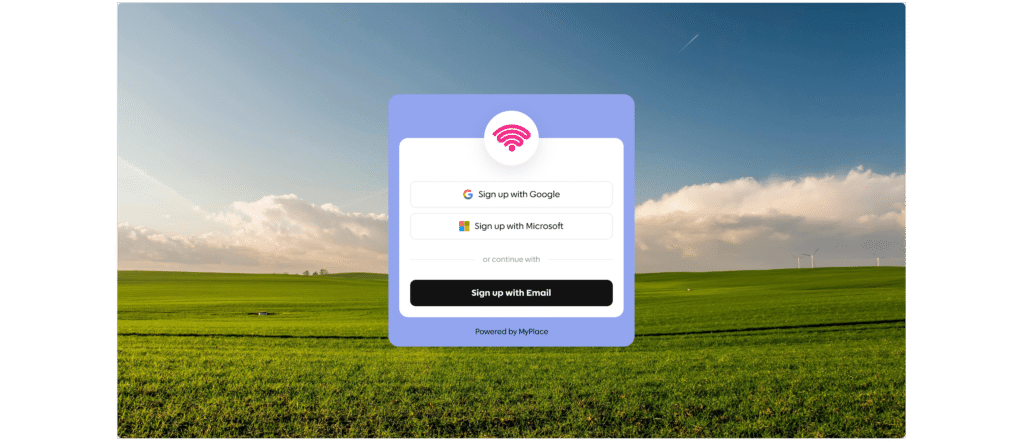
But, and this is where things may get a little confusing, the captive portal isn’t the login page you’ve seen (like the one pictured above.) That is called a splash page, and I’ll explain what that is shortly.
The captive portal is actually the mechanism behind it.
So, when we use the term – captive portal – we refer to the system that intercepts people as they are trying to log into the network and provides access based on certain criteria.
To achieve this objective and log people in, the captive portal displays a splash page.
This is an important aspect of the process to understand.
You see, most of the time, when customers use the term – captive portal – they refer to the aspect of the process that they see on screens – a page on which they log into the network.
But the actual captive portal is behind it, and only uses the splash page to communicate and interact with them.

Why use a captive portal?
I admit that the most logical answer seems to be “to provide free internet access to customers.”
But there is slightly more to it, actually.
Remember, the captive portal is a mechanism, a system that recognizes a customer and triggers relevant action based on their status.
So, for example, if someone’s trying to access the network for the first time, the system will trigger a login splash page. However, it might display different information to someone who has registered with the network before.
Here are the common actions that a captive portal triggers when logging a customer into your free WiFi.
- Providing signup facilities on a guest WiFi network to people accessing the network for the first time
- Displaying login screen to returning visitors.
- Showing new users T&Cs along with facilities to accept those
- Controlling the bandwidth and limiting guest WiFi usage, if needed
- Collecting sales leads
- Running different types of surveys, including NPS.
- Showing notifications and promotions
- Asking for reviews and star ratings, etc.
In other words, although users see a splash page, it is the captive portal that decides what actions would be the most relevant and triggers correct information on the splash page.
This brings us to the next aspect of the issue…
Captive portal vs. a splash page
I’ve used both terms—captive portal and splash page—a lot in this guide so far, and that’s for a reason. Both are inseparable parts of the overall guest WiFi experience.
However, contrary to what it might seem, they aren’t the same thing.
So, let’s reiterate:
- A captive portal is the mechanism that runs the process. Your customers do not see it when accessing the guest WiFi. But it is the captive portal that makes the process possible.
- A splash page is the actual page that customers see when accessing the network. This is what they experience as the physical manifestation of the process. However, the process itself is run by the captive portal.
How does a captive portal work?
I called the captive portal a mechanism, and I think it would make sense to see how such a system works.
A quick note – The process is quite technical. I tried to explain it in the simplest terms possible. That said, I couldn’t avoid using technical terms and jargon. However, whenever applicable, I tried to explain them as well as possible.
The process starts when a person starts to connect to a network.
Usually, this means that they’ve arrived at your location, pulled out their phone, and searched for your free WiFi.
Once their action has been detected, the Dynamic Host Configuration Protocol, assigns an Internet Protocol host and an address (IP) to their visit.
The Dynamic Host Configuration Protocol (DHCP) is a system that automatically assigns IP addresses to devices on a network. I like to think of it as an automatic address system for devices on the internet.
This address, in turn, lets the customer’s device communicate with the portal, which then redirects them to a login or terms page before granting full internet access.
At the same time, the firewall, or a gateway, prevents their access to the Internet.
This is because they need to log in or sign up first before they can access your guest WiFi.
To do so, the captive portal redirects user to a web page that opens in their browser.
This is the splash page we’ve talked about already.
The splash page is where the person registers for the network, accepts your T&C’s, and performs any other action that you require them to.
Once they finish that, they can access the network and use your guest WiFi.
What Do You Need to Create a Captive Portal
We’ve covered quite a lot of information about what a captive portal is, how it works, and what are it’s elements, including the splash page.
So, as the last part of this guide, let’s review what sort of hardware and software do you need to create a captive portal for your location.
And as a matter of fact, you only need three elements to do so:
#1. Router/Access Point
A router or access point in a captive portal is a device that connects the customer’s device – phone, laptop, etc. to the internet.
When they try to connect to a network, the router/access point directs the device to the splash page, where they log in, accept terms, or enter a code.
The router/access point manages this connection and ensures only authorized users can use the network, enhancing security and controlling access.
#2. Captive Portal Software
As I’m sure its name suggests, this software manages the captive portal for you.
When your customers join a network, the captive portal software ensures only authorized users access the internet, tracks user activity for security, and can display custom messages or ads.
It runs on the network’s server or router, handling user authentication and providing a secure, controlled way to grant internet access.
Example of a captive portal software
MyPlace (disclaimer – this is my tool) is a dedicated captive portal software that helps brick-and-mortar businesses – restaurants, hotels, coffee shops, bars, and many others – manage guest access to their WiFi networks.
Access is managed by a captive portal, where WiFi users are required to enter registration information to gain access.
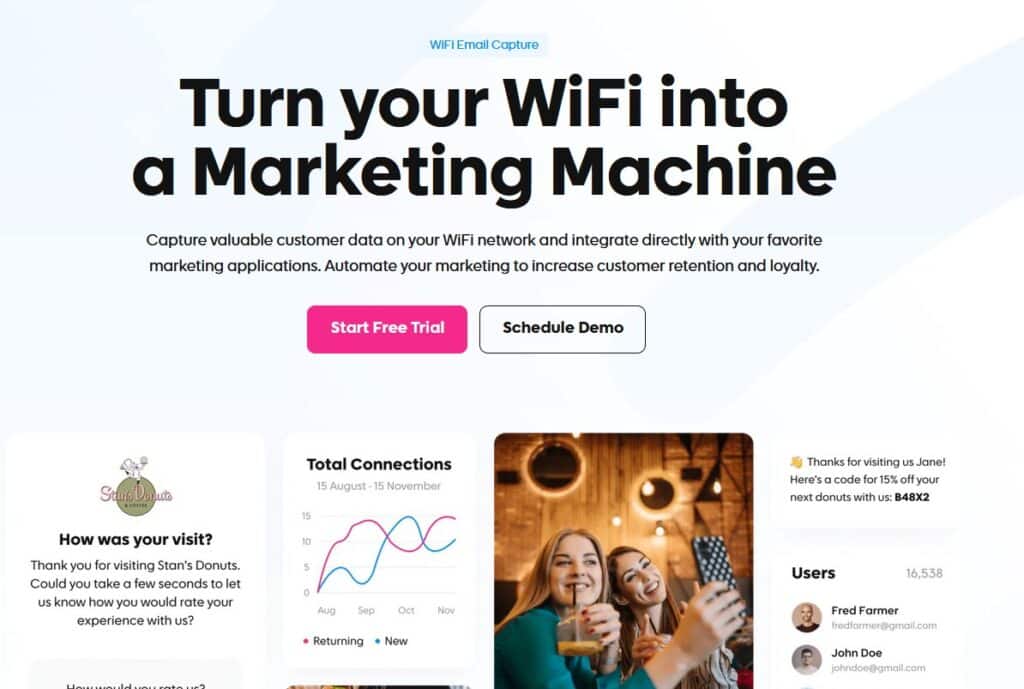
Thanks to MyPlace, venues can capture valuable email and marketing data on their customer, giving them an incredible opportunity to remarket and/or upsell to the customer after they have left the physical location.
In addition to primary email data, MyPlace incorporates behavioral and geo data to provide additional context.
Finally, MyPlace integrates directly with many email marketing platforms, such as Mailchimp or Klaviyo, allowing venues to add collected emails to their mailing lists.

#3. Splash page customization tool
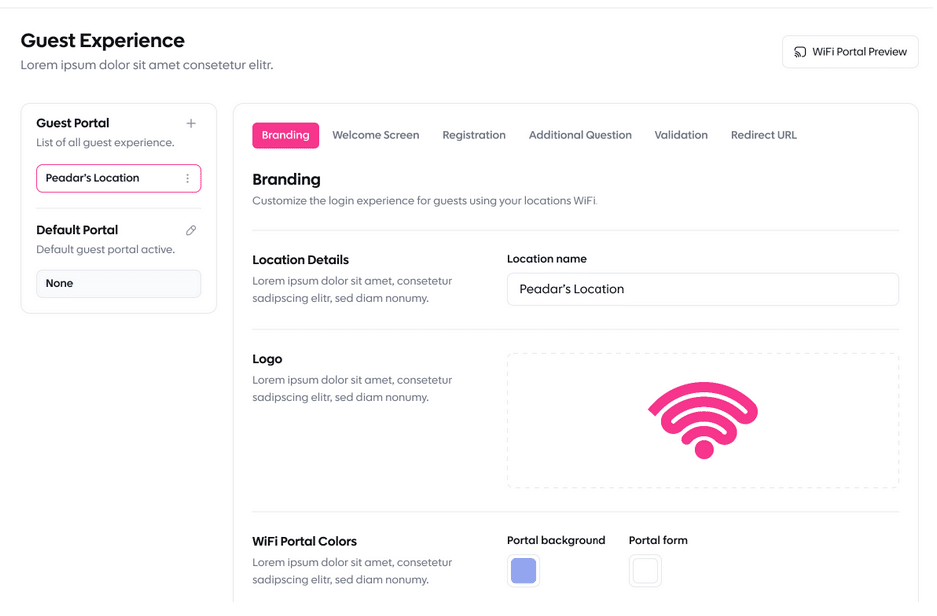
The final element is software that allows you to create and customize splash pages.
And in short, splash page software creates and manages the first webpage your customers see when connecting to a public Wi-Fi network.
This page can show login options, advertisements, terms of service, or other information and helps businesses communicate with users, collect data, and ensure users agree to specific terms before accessing the Internet.
The software runs on the network’s server or router, making it easy to customize and control the user experience on public networks.
NOTE: MyPlace also creates splash pages for you, so you don’t need a separate tool for that.
And that’s it…
That’s all there is to know about captive portals. All that’s left for you is to start setting up your captive portal and a splash page and launch your WiFi marketing campaign.
Good luck!
